Flight School
Access Flight School at the Verdant Meadows Airstrip after buying it in the mission 'Verdant Meadows'. There are 10 tests available, and each requires a score of 70% or above to pass. Walk into the red marker beside the television (inside the office) to take the tests.
The requirements for each award are as follows:
| AWARD GAINED | SCORE REQUIRED |
| Gold | 100% |
| Silver | 85% - 99% |
| Bronze | 70% - 84% |
| No Award | 0% - 69% |
| COMPARISON: TIMES AND PERCENTAGES |
| Takeoff | 70% = 45 sec | 85% = 37.5 sec | 100% = less than 30 sec |
| Land Plane | 70% = 40 sec | 85% = 32.5 sec | 100% = less than 25 sec |
| Circle Airstrip | 70% = 75 sec | 85% = 67.5 sec | 100% = less than 60 sec |
| Circle Airstrip and Land | 70% = 95 sec | 85% = 87.5 sec | 100% = less than 80 sec |
| Helicopter Takeoff | 70% = 60 sec | 85% = 52.5 sec | 100% = less than 45 sec |
| Land Helicopter | 70% = 45 sec | 85% = 37.5 sec | 100% = less than 30 sec |
| Destroy Targets | 70% = 105 sec | 85% = 92.5 sec | 100% = less than 80 sec |
| Loop the Loop | 70% = 27 sec | 85% = 24 sec | 100% = less than 21 sec |
| Barrel Roll | 70% = 23 sec | 85% = 20.5 sec | 100% = less than 18 sec |
| Parachute onto Target | 70% = 70 sec | 85% = 62.5 sec | 100% = less than 55 sec |
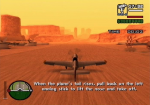
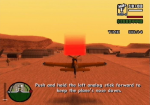
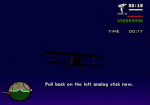
- Takeoff
Press and hold 'X' to accelerate along the runway. Just as the plane's tail begins to rise, pull back on the left analog stick to lift the nose, and take off. As soon as you take off, press R3 to retract the landing gear. [Do not take your finger off the 'X' button. The only thing you need to do is move the left analog stick up or down, do not move it from side to side or you will create problems for yourself. When you move the left analog stick, move it very slowly or you risk losing control of the plane] Fly towards the first corona at a steady speed. Go through it, and slowly adjust the analog stick to point the nose downwards. Fly through the second corona, and again, slowly adjust the left analog stick to point the nose upwards. Fly through the third and final corona to complete the test. Your overall% is based on the time it took to complete. Remember, you only need 70% or above to pass. Press 'X' to continue.
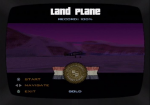
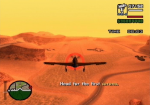
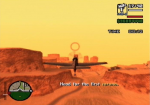
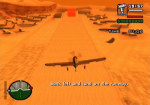
- Land Plane
As soon as you gain control of the plain, press R3 to lower the landing gear. Move steadily downwards and go through the corona. Press and hold 'Square' to decellerate, and do not touch the ground until you are at a very slow speed. Time it so that you land in or near the red marker. If you are slightly off-course, don't scramble or you will gain damage points. Your overall score is based on 3 factors: Your final position score, your damage penalty and the time taken.
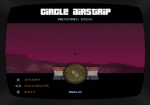
- Circle Airstrip
You are given the option of flying clockwise or anti-clockwise. Clockwise would be the more sensible choice. Use the skills you learned in the first test to take off - hold 'X' to accelerate along the runway and pull back on the left analog stick as the tail rises, to take-off. The main thing to remember is that you are flying around in a huge circle. Do not fly in straight lines towards each corona, but instead fly in a large circular movement. If you imagine the route as being a huge circle you shouldn't have to worry about the location of the next corona, as you can "predict" where it is going to be. Your overall score is based on 2 factors - the time taken and your damage penalty, if any.
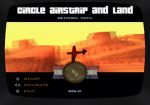
- Circle Aistrip and Land
Again, select clockwise and repeat the steps in the previous test. This time, however, you must land after flying through the final corona. As you near the final corona, bank left (slightly) and use the skills you learned in test-two to land the plane in the red marker. Your overall score is based on 3 factors - the time taken, your final position score and your damage penalty, if any.
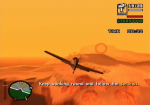
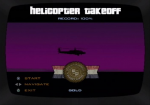
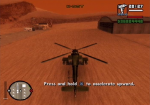
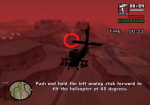
- Helicopter Takeoff
Before doing anything, let the blades spin until they are as fast as they can possibly go. Press and hold 'X' to accelerate upwards. A message will appear on-screen asking you to release 'X', to level off. Rotate the helicopter 180 degrees by holding L2 or R2. Push the left analog stick forward slightly to point the nose down 45 degrees. Follow the yellow blip on the radar. Keep the nose pointed forwards, and vary between the 'Square'and 'X' buttons, so that you maintain a good speed without going too high. Fly through the corona to complete the test. Your overall score is based on 2 factors - the time taken and the damage penalty, if any.
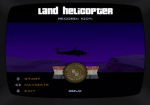
- Land Helciopter
Use the skills you learned in the previous test to fly towards the red marker. Pull the left analog stick back and tap 'Square' repeatedly as you approach, to decellerate. Land in the middle of the red marker. Your overall score is based on the time taken, your final position and your damage penalty.
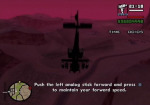
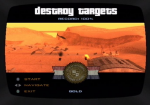
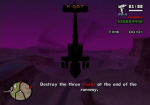
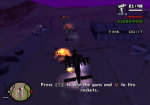
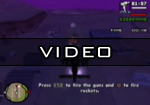
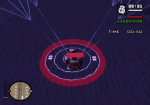
- Destroy Targets
Use the skills you have learned to fly towards the 3 vans at the end of the airstrip. Don't fly too low, or you will miss the targets completely. Tap 'Square' repeatedly as you approach the targets, and begin firing rockets (using 'Circle). Fire as many as you can, and as quickly as you can, and destroy the 3 vans. Quickly turn 180 degrees (using L2) and fly towards the moving vans. Again, slow down as you approach and begin firing as quickly as you can. Destroy both targets and again, turn 180 degrees, and head back to the airstrip. Land in the red marker. Your overall score is based on the time taken, your final position score and the damage penalty.
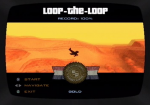
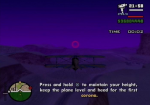
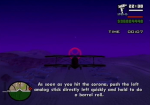
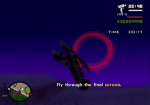
- Loop the Loop
Hold 'X' to maintain height and speed. As soon as you pass through the corona, pull back on the left analog stick to perform a loop. Push forward on the left analog stick just before you level off and go through the second corona. Your overall score is based on the time taken and the damage penatly, if any.
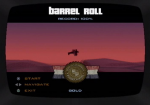
- Barrel Roll
Hold 'X' to main height and speed. As soon as you pass through the first corona, push the analog stick left to perform a barrel roll. The nose must be pointed slightly upwards before attempting the barrel roll, otherwise you will heard straight towards the ground. Level off and pass through the second corona. Your overall score is based on the time taken and the damage penalty.
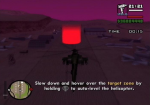
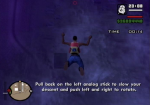
- Parachute onto Target
Let CJ fall for about 10 seconds. Then push the left analog stick forward to accelerate. A message will appear on-screen, telling you to release the parachute. Do so, as soon as this message appears (press 'Circle'). Pull back on the left analog stick to move forward rapidly. Time it so that you land in the middle of the red marker. Your overall score is based on the time taken, and your final position score.
|
 |
Search News
|
 |
|
|